Lightroom Classic has just been updated to version 9.3 and whilst it’s not a major update there are a few more changes than just the usual bug fixes and performance improvements. This update includes a few new features and one I think is particularly interesting.
Faster Scrolling, Faster Searching, and UI updates
We all know that you should only ever have one Lightroom Classic catalog, right? And because we all only use one catalog it’s important that performance doesn’t suffer the more photos we add to it. Well this release makes scrolling through the grid in the library module more fluid. Filtering and searching also got a bit of a speed bump.
Some other “boring” updates include UI improvements to Sync, Tone Curve, and Colour. There’s now a dedicated sync tab in the upper-right corner. Sync isn’t its own module yet but this tab does make it always accessible.
The Tone Curve now has an option to switch between the parametric and point curve channels. This should allow for more precise adjustments. And finally the Color Panel has gotten a new UI but no new features as far as I can tell.
Local Hue Adjustments
The new feature that will excite most users is the Local Hue Adjustment. This won’t necessarily be anything new to Photoshop users. But I’m glad this function has been added to Lightroom Classic. The fewer times I have to open Photoshop to refine images, the better. It’s not that I don’t like Photoshop. Opening a file in Photoshop just takes up time and also generates an additional file, which is then stacked in Lightroom Classic. I prefer to keep things as simple as possible. And what is simpler than just having one file?
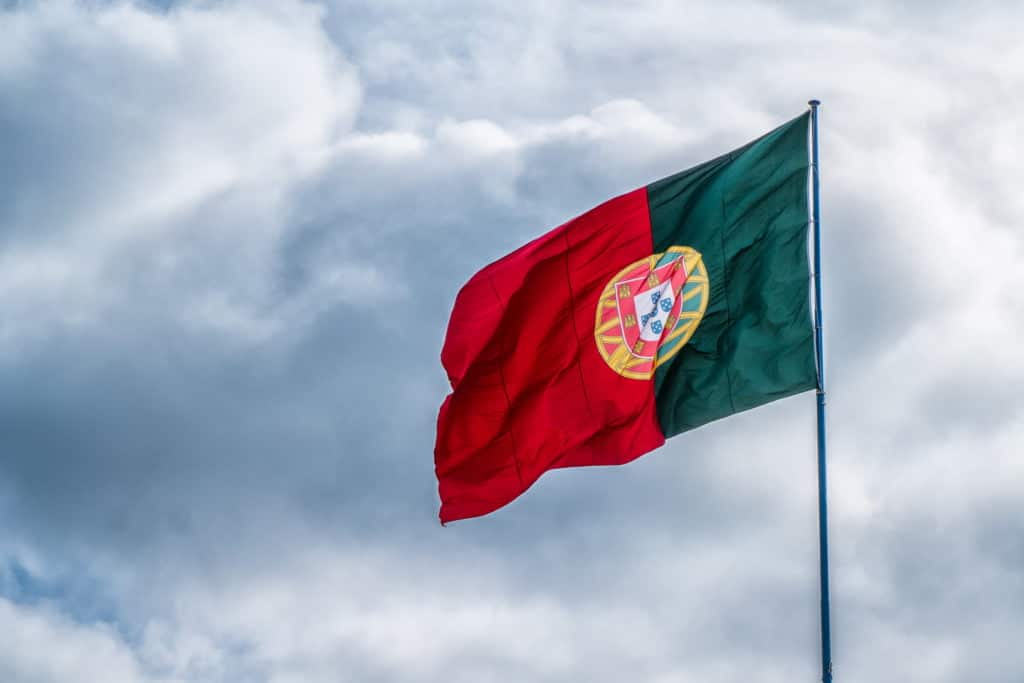
Let’s have a look at this function. Don’t take this the wrong way portuguese viewers, I like your flag. This is just the first photo I found that has two contrasting colours.
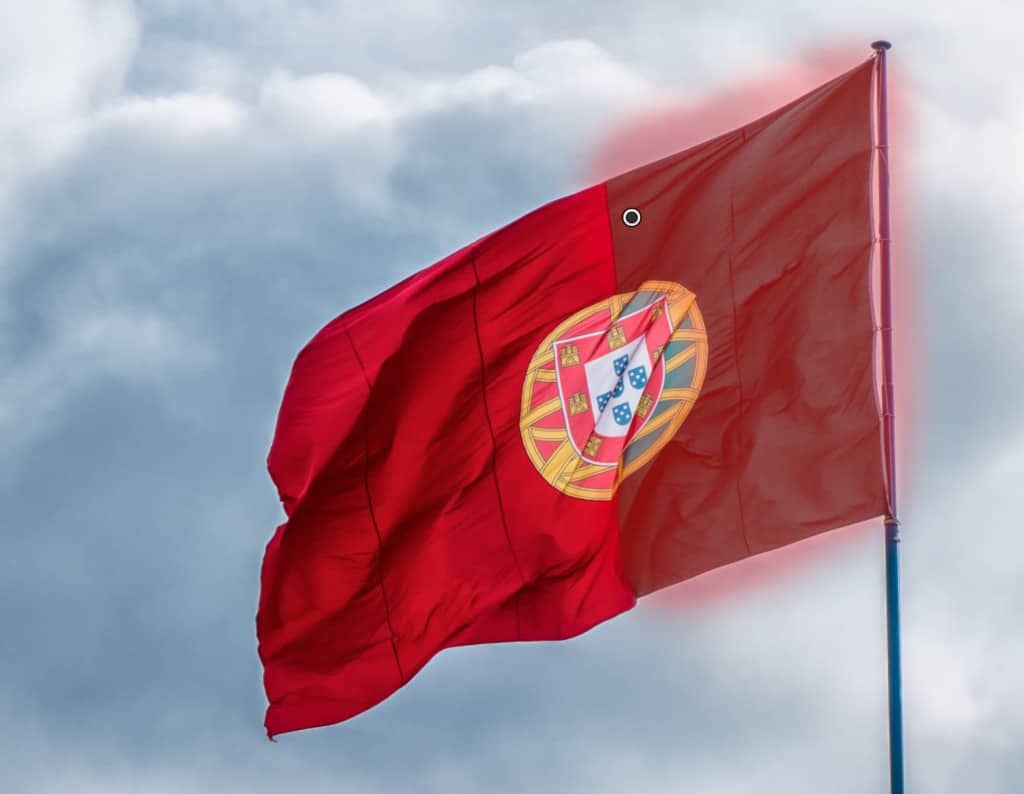
I’m going to start off using the Adjustment Brush to cover the green in the flag. Using the O key you can see the exact overlay.

Because I don’t want to adjust the hue of the sky I’ll be using a Colour Range Mask to only select the green of the flag.
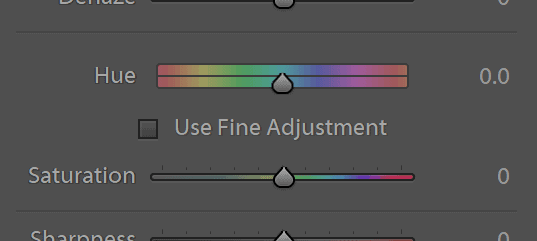
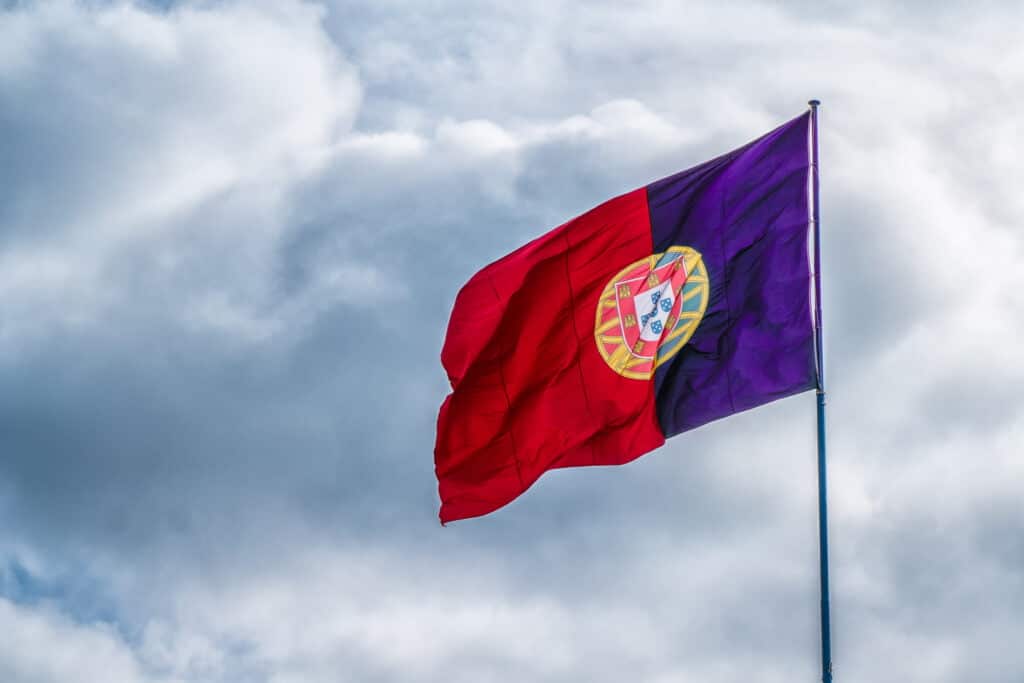
Once done I can use the new Hue slider, in conjunction with the Saturation, to change the colour of this flag.
When to use Local Hue Adjustments
I can see this being used in landscapes if you like to include people to show the scale of what you’re shooting. Maybe that person is wearing a green jumper and you want to create more contrast between them and the landscape. What previously had to be done in Photoshop can now be done in Lightroom.
Other changes
The new iPhone SE and newer iPads are now supported. I’m not sure anyone owns the Huawei P40 Pro, but that phone is now also supported.
You can now set default settings for importing photos based on the photo’s ISO setting using ISO adaptive presets.
The default presets have been updated. I don’t know if anyone uses the Adobe default presets but if you do, there you go.
The full changelog is available on the Adobe Lightroom website.