Shift + F
By holding down the Shift key and pressing the F key you can cycle through three different screen modes. This is great if you’re focussing just on your editing and don’t need access to any other applications.
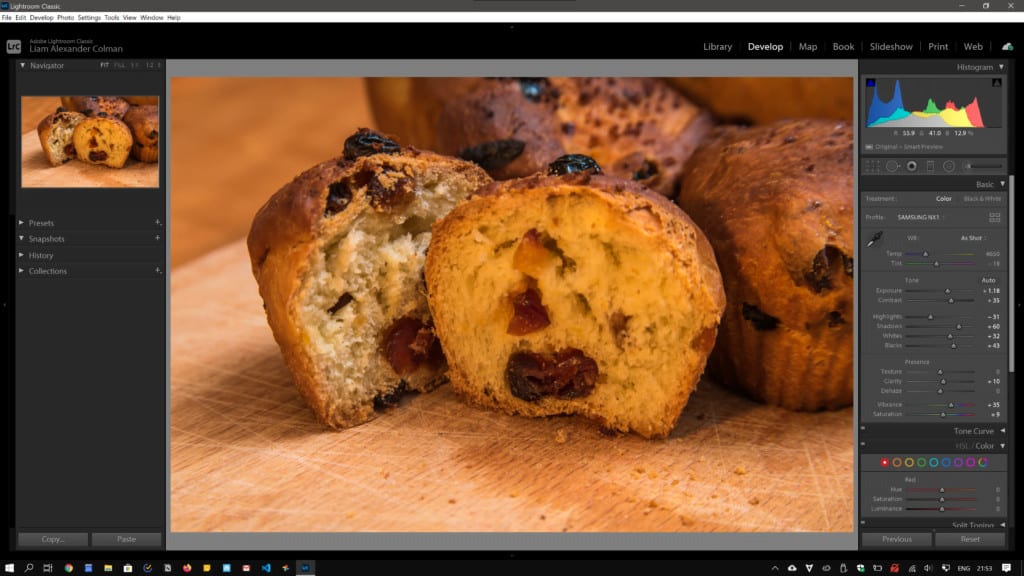
- The first option will enter a kind of semi-full-screen mode by hiding the title bar and giving you more vertical space.
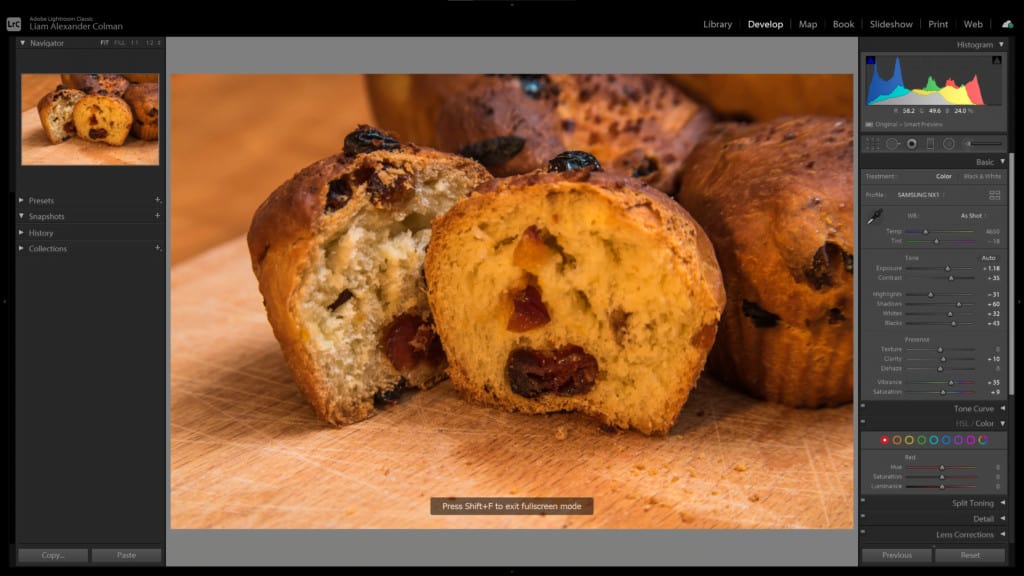
- And if you keep Shift held down and press F again it will enter full-full-screen mode.
- Pressing F again, while holding down the Shift key will return to the standard screen mode.

TAb
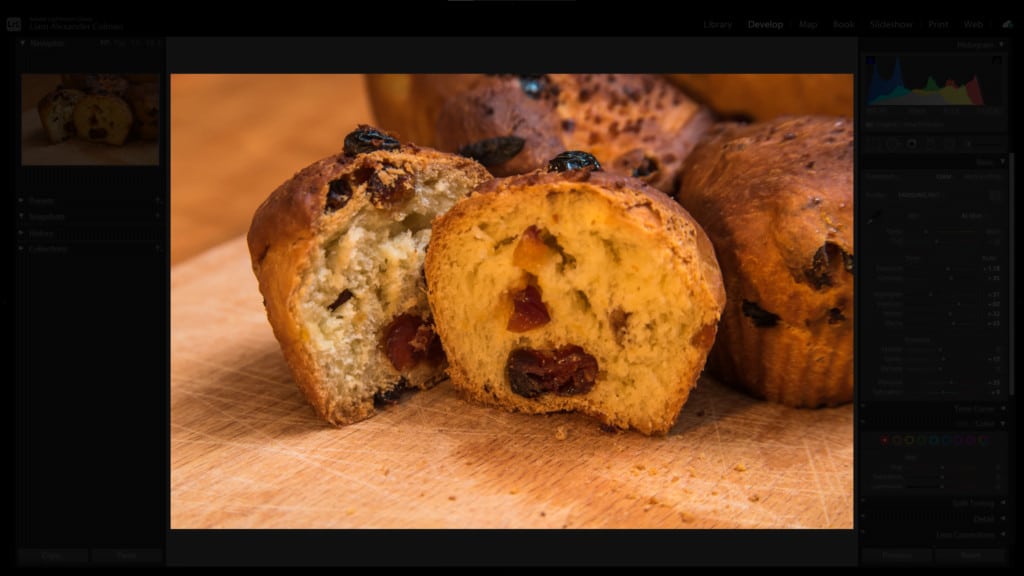
The next keyboard shortcut is fairly simple. Press the Tab button to hide both side panels. You can also hide each panel by clicking on the little arrow you see at the very edge, that includes the top panel with displaying the individual module names and the bottom panel showing a grid of the photos you’re currently working on. And if you’re wondering how to navigate between images with the little grid at the bottom hidden you can do that by holding down CTRL and using the arrow keys.
The T key
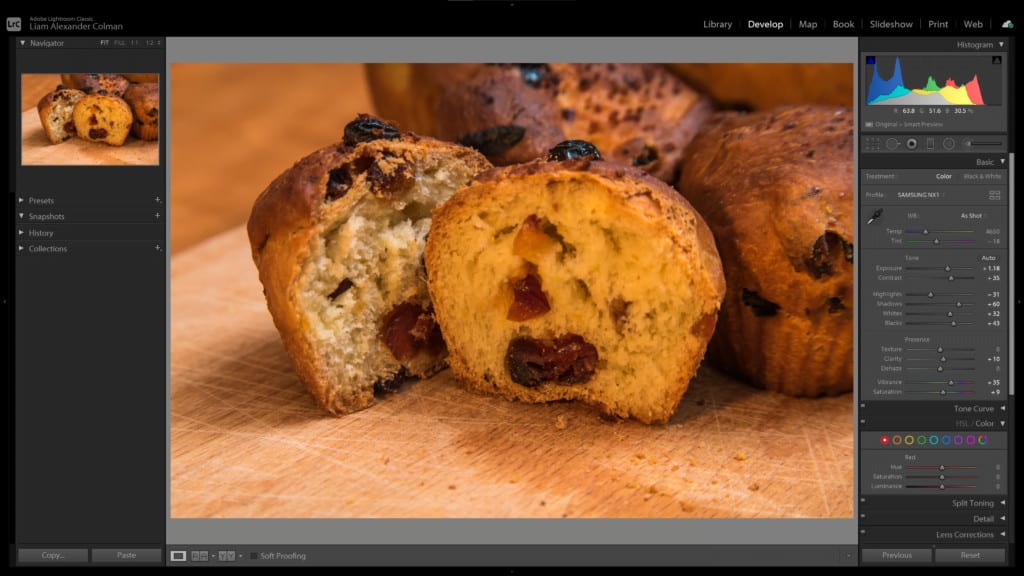
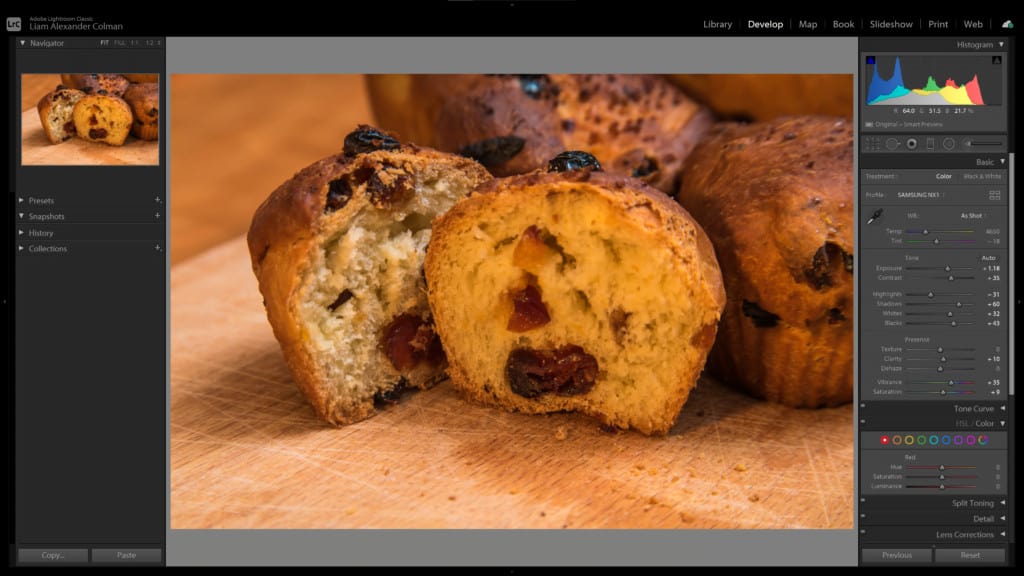
Pressing T will show or hide the little toolbar you see at the bottom of the window. If you’re not using it you may as well use that vertical space for photos shot in portrait instead.
The L key
The L key which will first dim everything but your photo and then completely darken everything.

The F key
And the F key, this time without holding down Shift will show you the photo in full-screen.